Creating RigidBodies
Creating rigidbodies in the engine is fairly simple, just configure the engine and use Engine:Create() method! When a RigidBody is created, a unique ID is assigned to it, Points are created for its vertices and these points are connected with Constraints!
RigidBodies support the following UI elements.
- Frame
- ScrollingFrame
- ImageButton
- ImageLabel
- TextLabel
- TextBox
- TextButton
- VideoFrame
- ViewportFrame
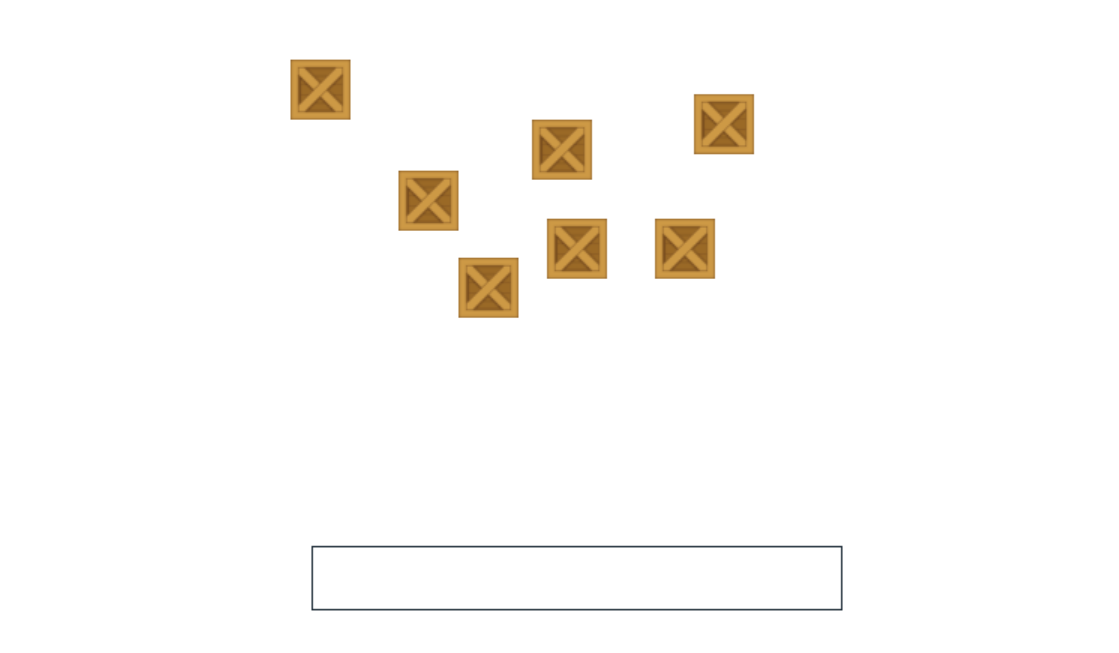
In this example, we create the following simulation:
The first step would be the create a frame which will be an anchored RigidBody.

Next we'll create separate ImageLabels for each box, you can do this using a script as well! For the boxes, I used the following image:

I spread the boxes around and group them inside a single folder!
Let's bring our boxes to life! Firstly we start by initializing our engine.
local ReplicatedStorage = game:GetService("ReplicatedStorage")
local Nature2D = require(ReplicatedStorage:FindFirstChild("Nature2D"))

local ScreenGui = script.Parent
local Canvas = ScreenGui.Canvas

local engine = Nature2D.init(ScreenGui)
Next we make the Anchored base an anchored rigidbody!
engine:Create("RigidBody", {
    Object = Canvas.AnchoredPart,
    Collidable = true,
    Anchored = true
})
We now loop through each box in the 'Boxes' folder and make it an unanchored rigid body! Lastly, we start the engine and boom! You have the simulation ready.
for _, box in ipairs(Canvas.Boxes:GetChildren()) do
    engine:Create("RigidBody", {
        Object = box,
        Collidable = true,
        Anchored = false
    })
end

engine:Start()
This is how easily you can create RigidBodies for your games with potentially any UI element. You can try replacing them with textboxes, viewportframes etc!